Steps for In-place upgrade of HCL Domino 12.x to HCL Domino 14.0 FP5
Notes:
- Installations steps work for any Domino 12.0, 12.0.1, or 12.0.2 with any Fix Pack (FP)
- If you have an IF / HF (hotfix) installed, it has to be uninstalled (by running it again) before a higher FP or HF is installed.
- HCL Domino 14 uses an account to run rather than SYSTEM. Ensure this user has access to all folders.
BEFORE YOU START:
1. Sanity Checks:
a. Check server drive disk for free drive space (10 GB min)
b. Write down or memorize the server program and data folders and the user name (e.g. notes) for verification when going through installation prompts. Also, write down any locations of transaction logging.
e.g.
Program: c:\Lotus\Domino
NotesData: d:\Lotus\Domino\data
TransLogs: x:\
Setup (software) files: x:\software
2. Copy installation files to desired target folder (x:\software\ in our case):
Domino_14.0_Win_English.exe
Domino_1400FP5_Win.exe
3. Stop the Domino service:
a. Shut down Domino if running:
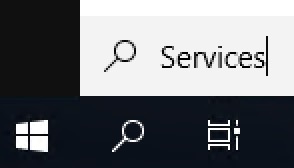
Windows toolbar --> Search (box) --> enter Services --> choose Services.msc (Desktop App) --> locate and select HCLDominoService(NLotusDominoData) --> Stop the service
<wait>
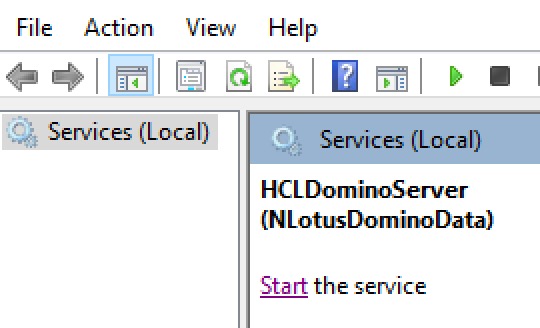
b. Confirm not running (ready to start):
Search:
Domino Service Stopped (Ready to Start):
4. Update the permissions to the user (e.g. Local Service):
a. Open the Domino folder(s) and select Properties:
Windows toolbar --> Folder (icon) --> d:\Lotus --> highlight Domino --> right-click, choose Properties
b. Add the system/user account for which Domino is going to run:
- In the Properties dialog, select Security (tab) --> under Group or user names heading, click Edit (button)
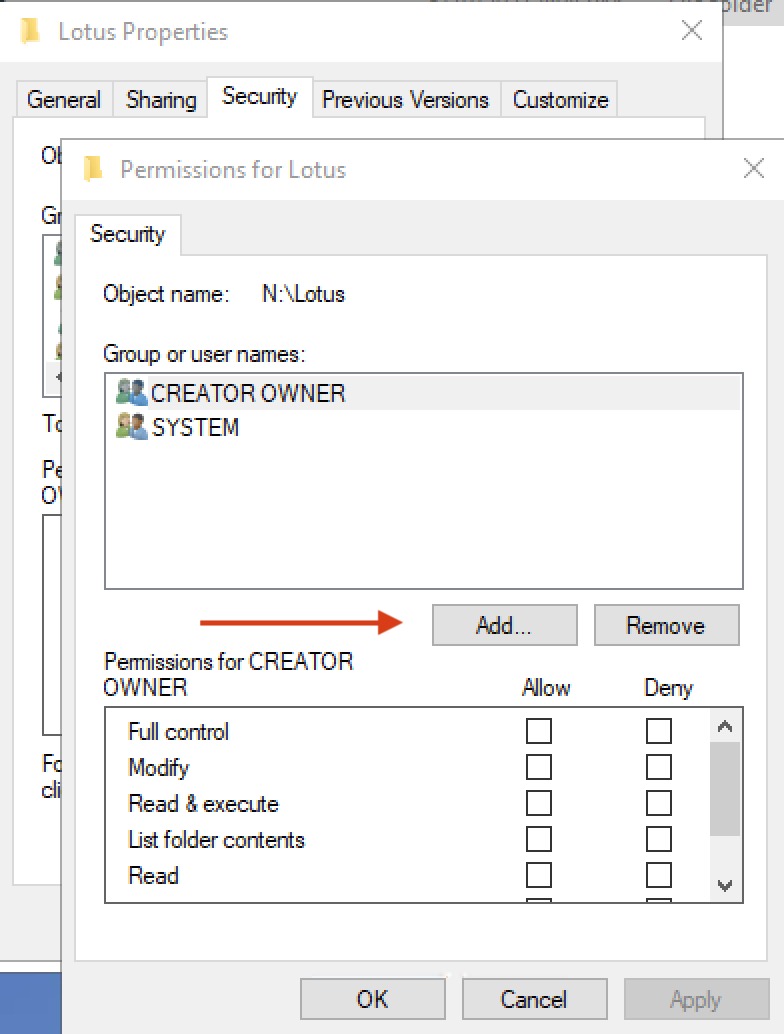
- In the Permissions for Lotus dialog (name of the program, data, transaction log, etc. folder) dialog, click Add (button)
- In the Select Users, Computers, Service Accounts, or Groups dialog, enter the account, Local Service, click Check Names (button) to verify. (If verified, the name entered will be underlined.) Click OK (button).
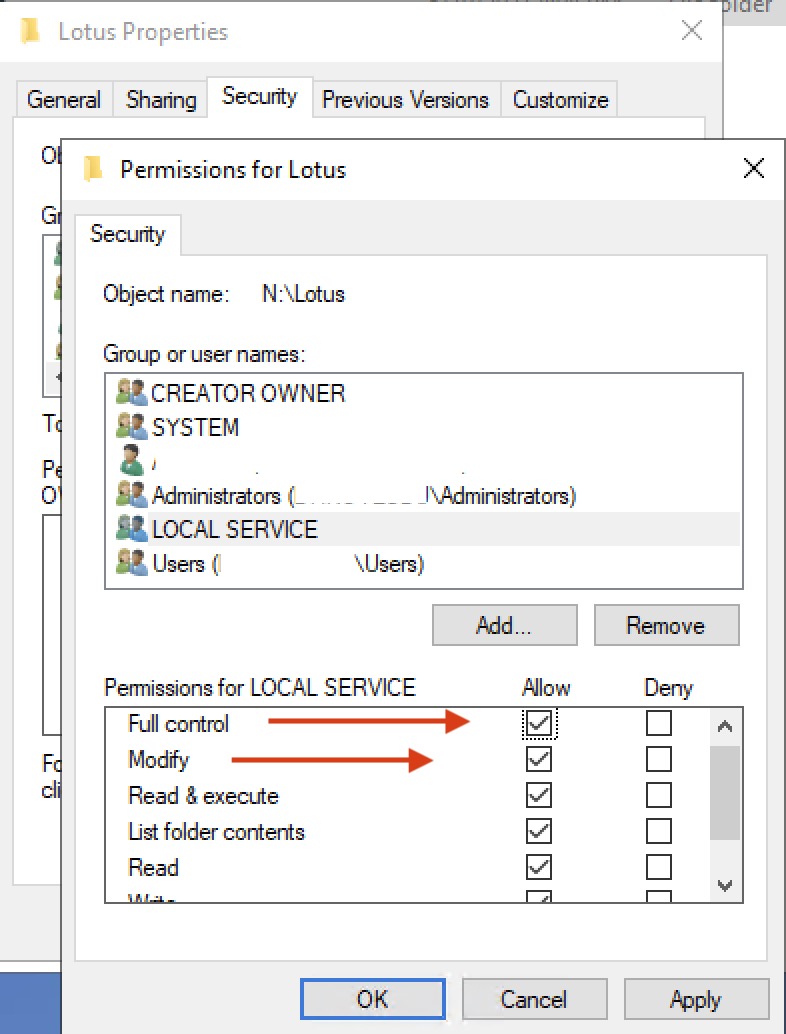
- Back in the Permissions for Lotus dialog, ensure that LOCAL SERVICE is still highlighted, under the Permission for LOCAL SERVICE, at minimum, check Modify, which will auto-check Write to allow Domino to read, write, and change any file. Check Full control for Domino to be able create, and change permissions on its folder. Click Apply (button) and wait for permissions of files and subfolders to be updated. Click OK (button) to close the Permissions dialog. Click OK to close the Properties dialog.
Permissions for Lotus dialog:
Select Users, Computers, Service Accounts, or Groups dialog:

Back in the Permissions for Lotus dialog:
5. Install HCL Domino 14.0:
a. Navigate to the installation folder on the server and run the installation:
Folders --> x:\Software --> double-click Domino_14.0_Win_English
b. In the User Account Control dialog, select Yes to allow the install program to make changes to your device.

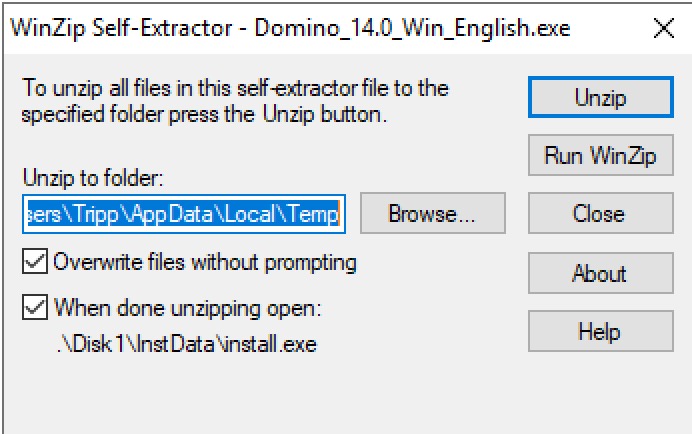
c. In the WinZip Self-Extractor - Domino_14.0_Win_English.exe dialog, click Unzip (button) and wait for the extraction. Click OK (button) when its done/successful.
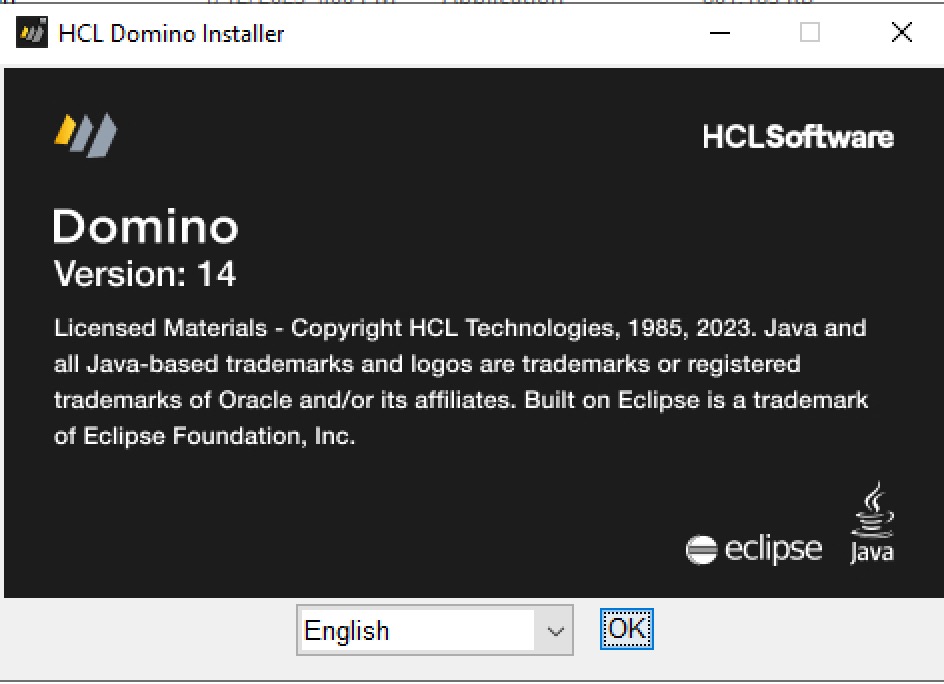
d. In the HCL Domino Installer window, leave language English, and click OK (button).
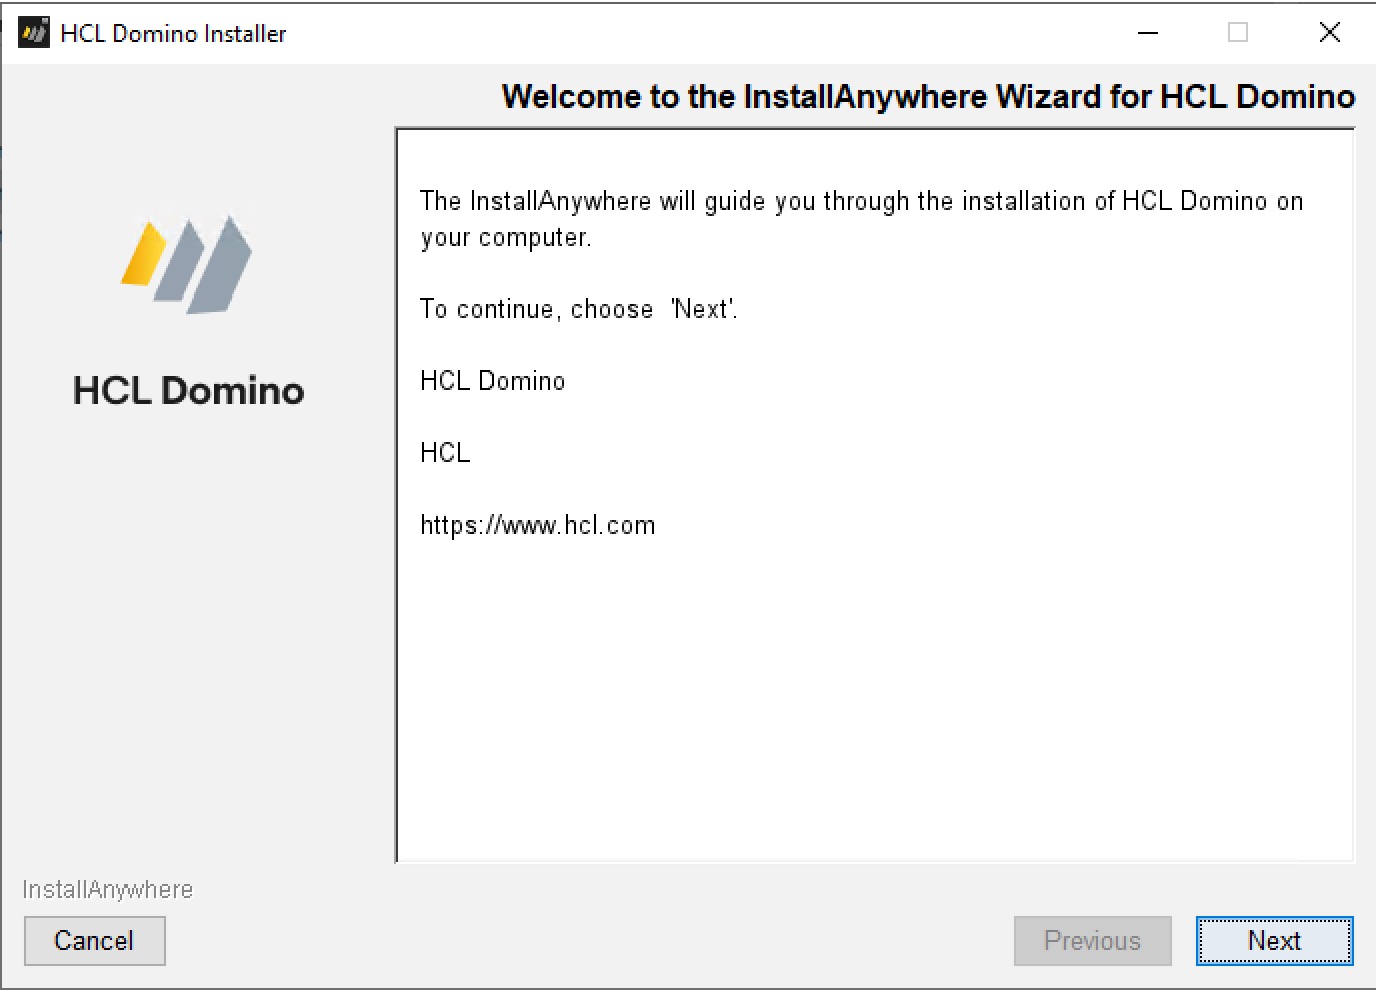
e. On the next Welcome to the InstallAnywhere... page, click Next (button).
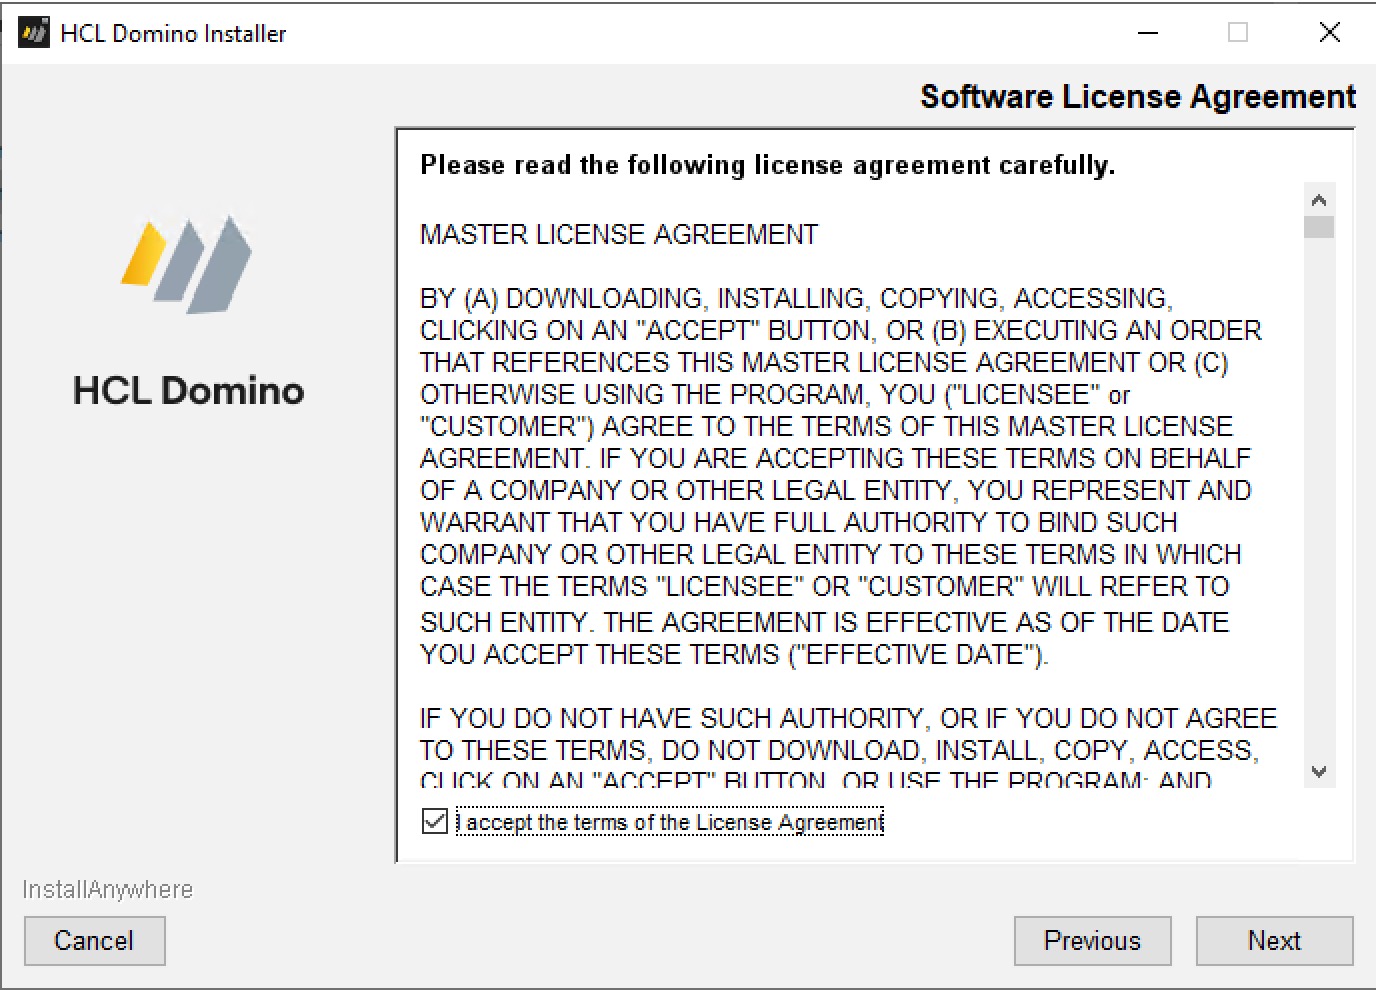
f. On the Software License Agreement page, click/check the acceptance checkbox, click Next (button)
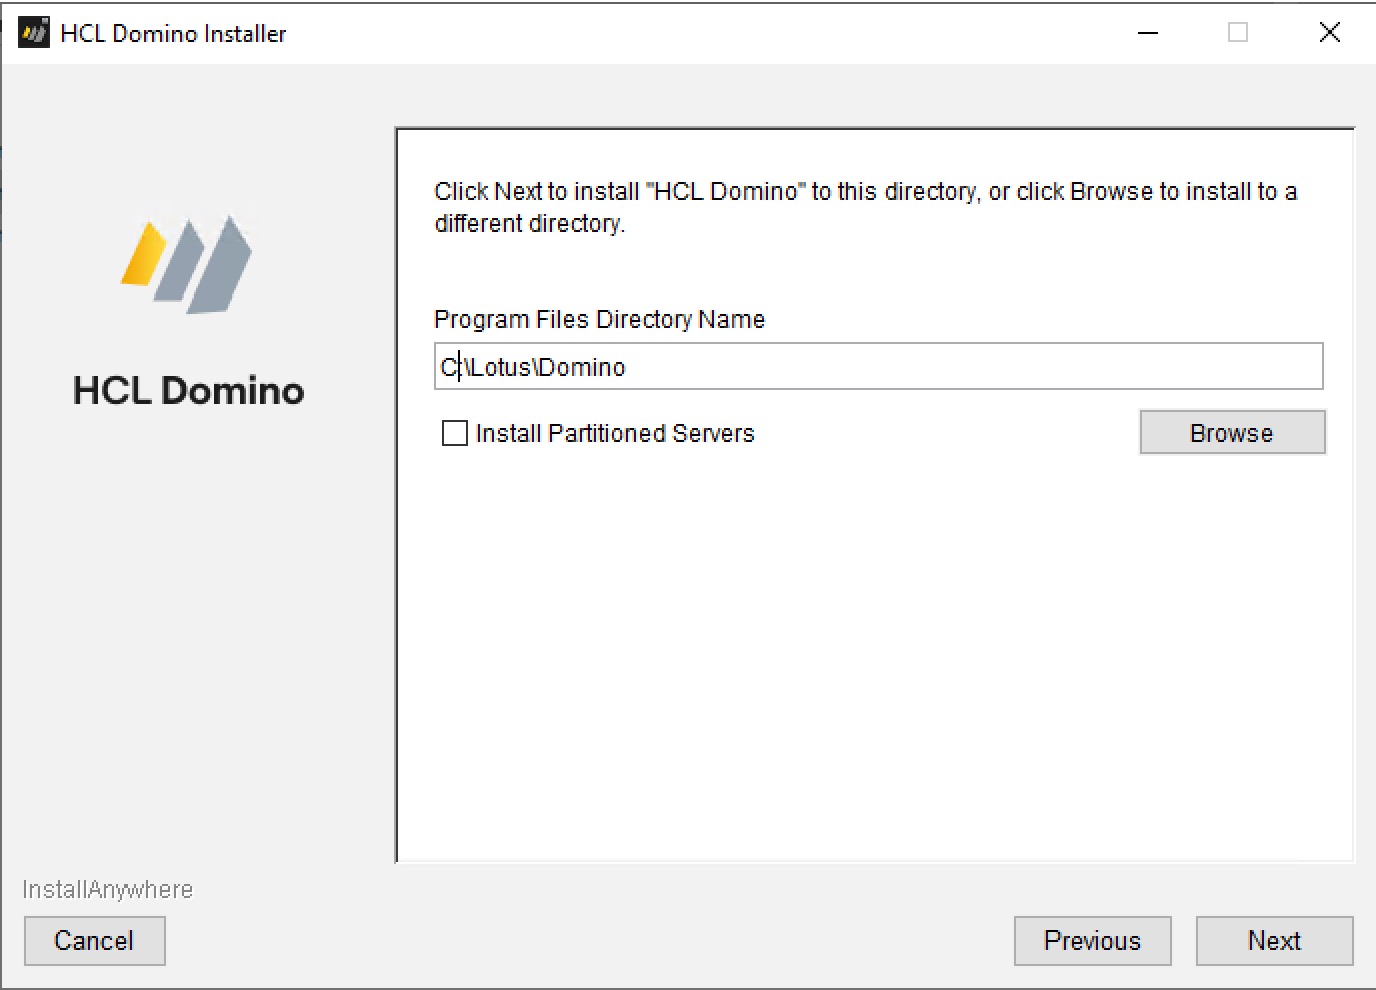
g. On the next page with the Program Files Directory Name field, verify the path to the program folder is correct. Click Next (button).
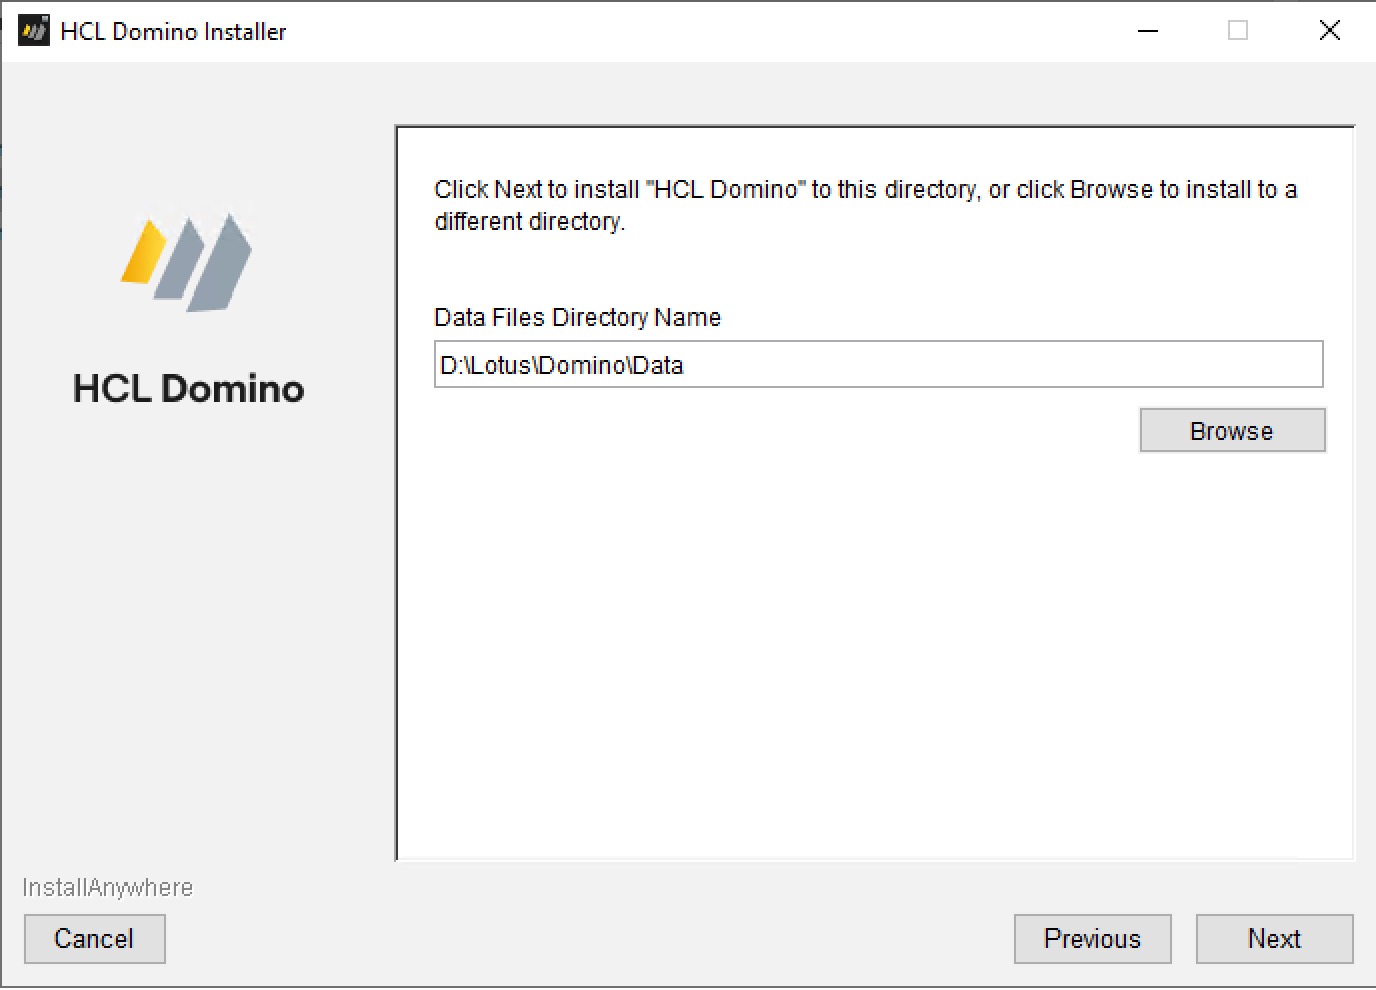
h. On the next page with the Data Files Directory Name field, verify the path to the NotesData folder is correct. Click Next (button).
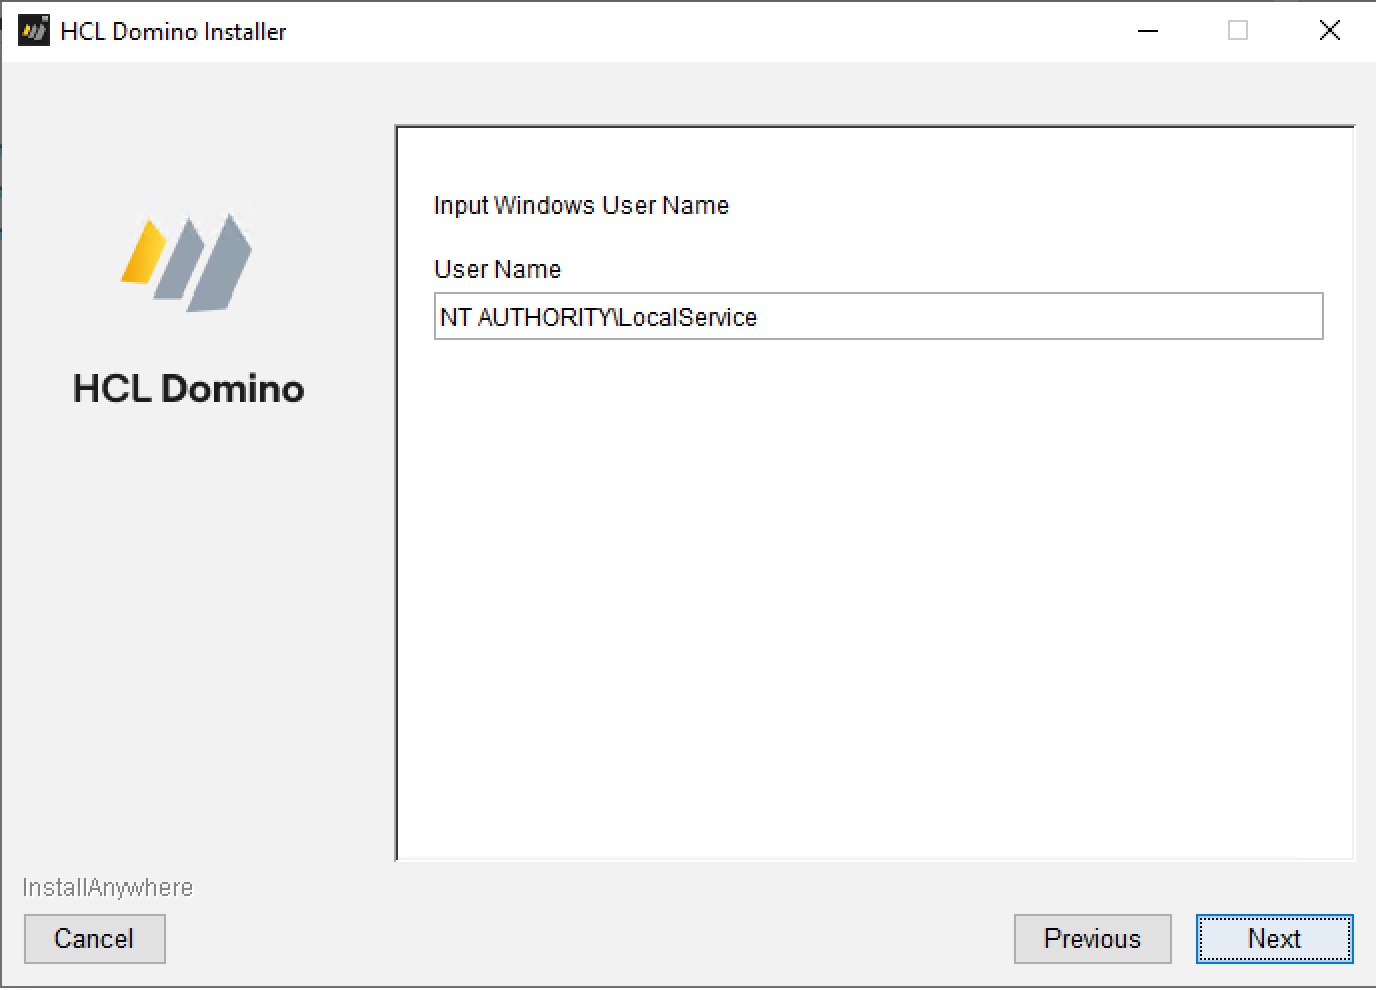
i. On the next page with the Input Windows User Name prompt and User Name field, accept the default NT AUTHORITY\LocalService local service account or update to your desired one. Click Next (button).
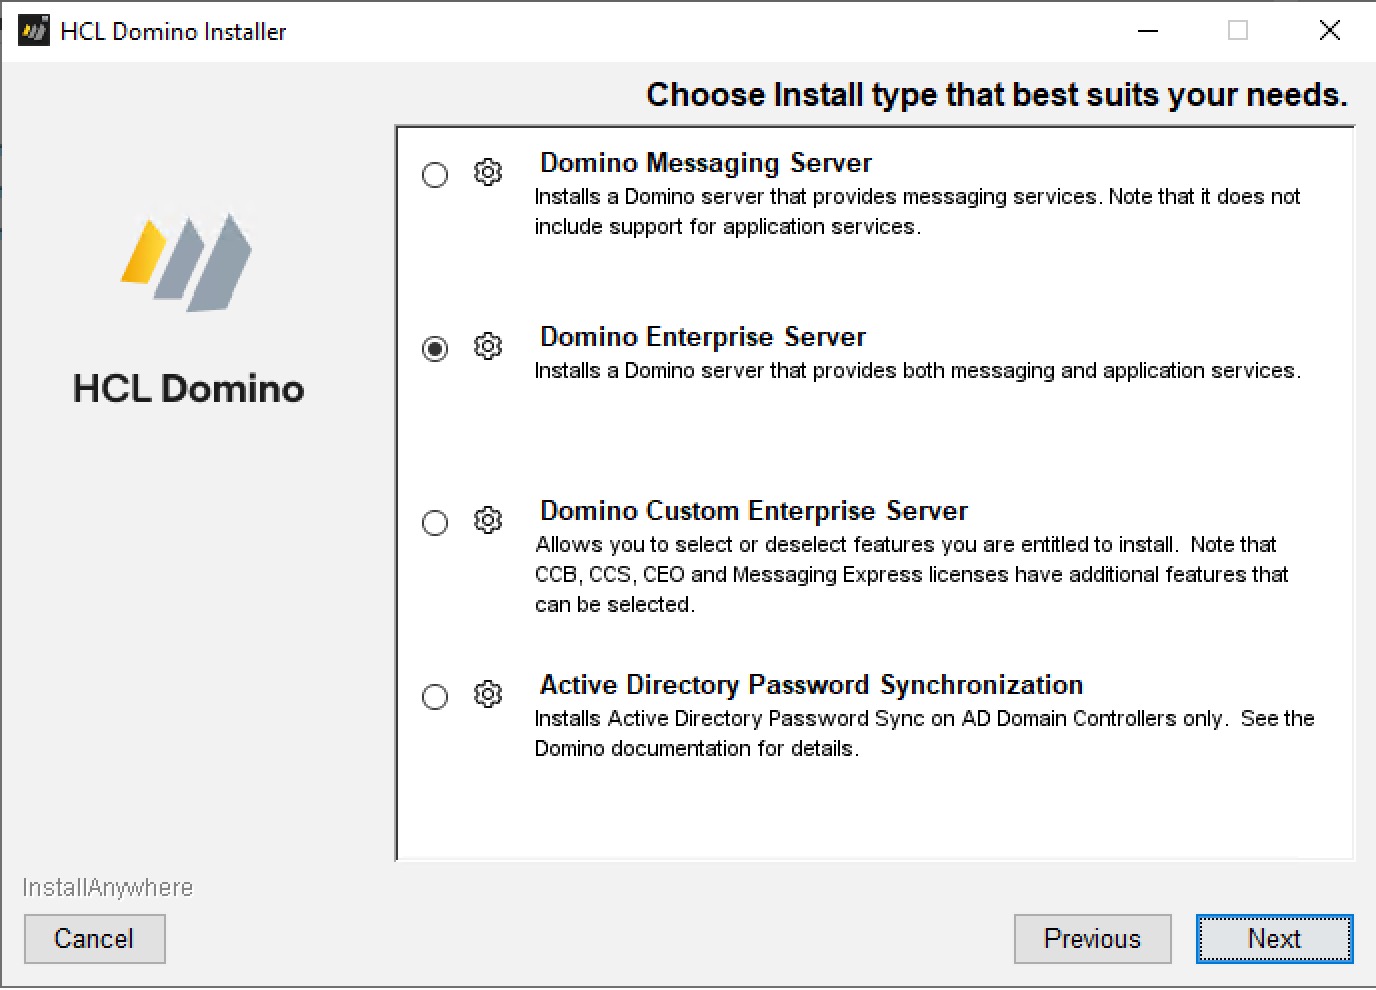
j. On the next page with the Choose Install type that best suites your needs field, accept the default, Domino Enterprise Server, or change to Domino Custom Enterprise Server, if applicable. Click Next (button).
k. On the next page with the heading, HCL Domino will be installed in the following location, verify and click Install (button).
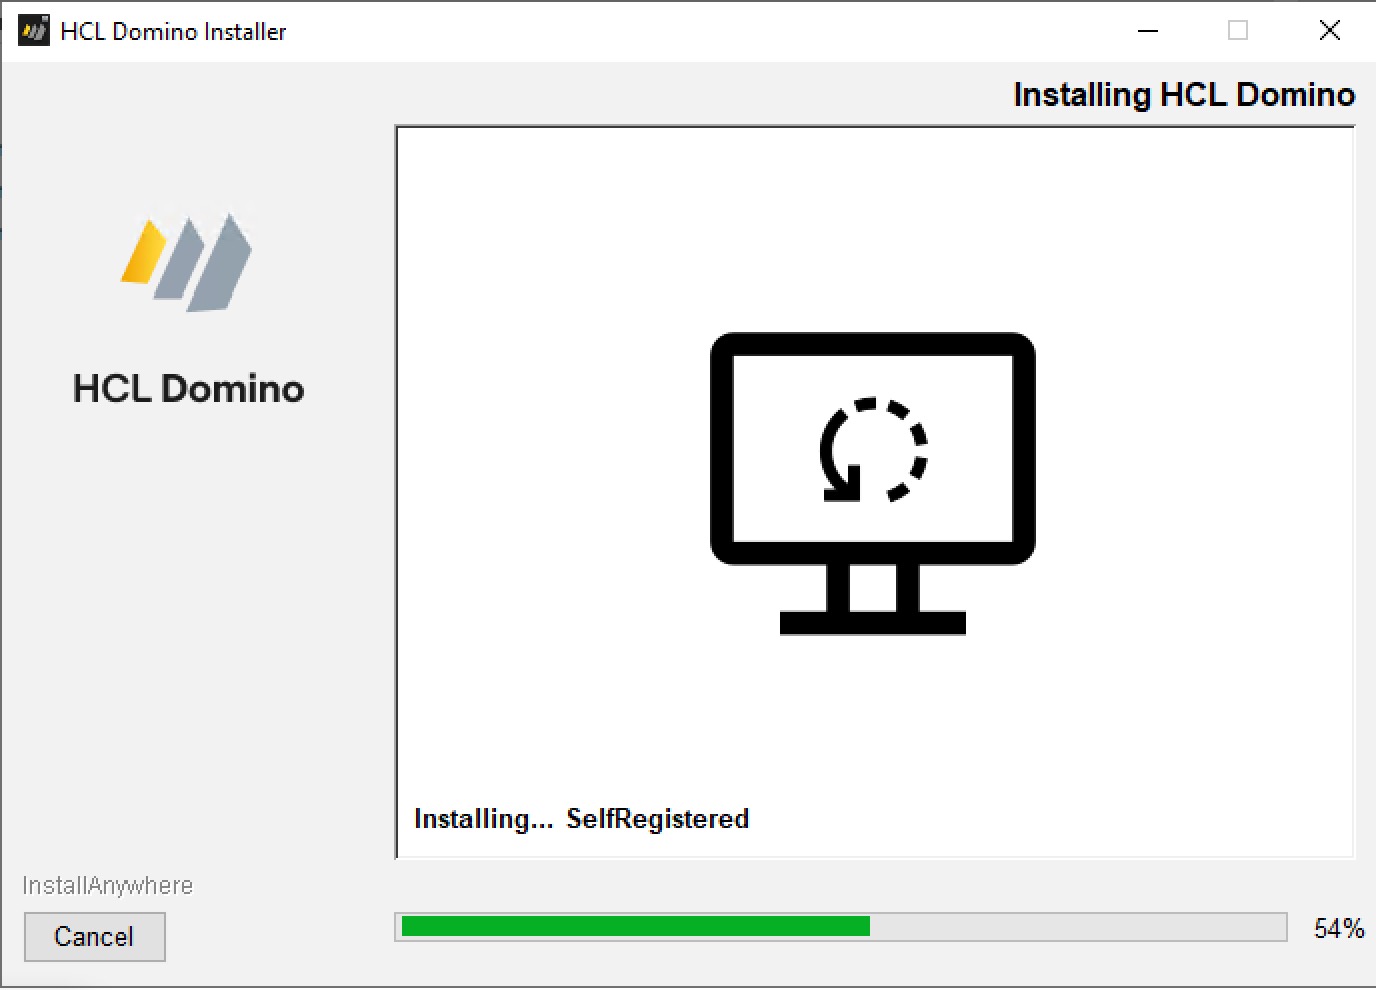
l. On the next page, wait for the installation to complete.
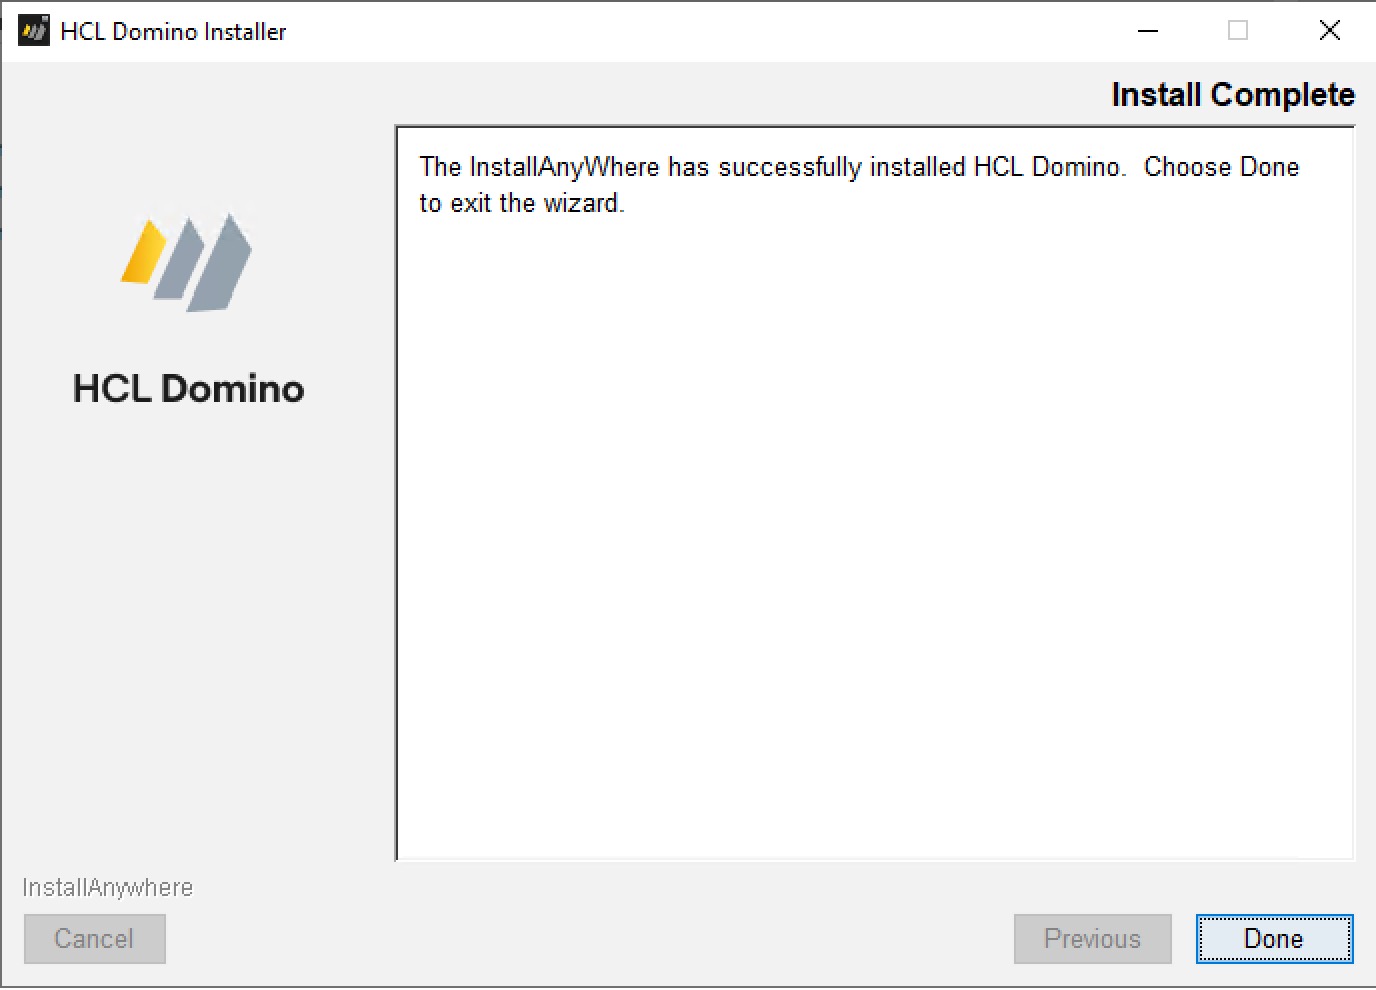
m. On the final page, verify the installation was successful, click Done (button) to close the installation window.
6. Start/run Domino to upgrade design (maybe):
Notes:
- If this upgrade is the administrative server for the Domain (the "main" Domino server that manages the Domino Directory), there will be upgrades to the Directory and other system apps to accept. It can be done now, or after the fix-pack FP5 install. If this is not the first Domino server upgraded/or is not the administrative server, then continue to the next step installing FP5
- If the HCL Domino service is started, you'll need to use the Domino Console icon to accept the design changes. The system "hangs" waiting for you to answer YES to updating the design.
- If the Domino service is not configured to use the Java Controller, you must run it manually from the terminal
- - Open Terminal --> Change to the domino Data drive and folder, while in that folder, run the nserver.exe using its full path.
a. Assuming this server is using the Java Controller, start the service:
Windows toolbar --> Search (box) --> enter Services --> choose Services.msc (Desktop App) --> locate and select HCLDominoService(NLotusDominoData) --> Start the service
<wait a few seconds>
b. Launch the Domino Console:
Desktop --> double-click Domino Console
c. Answer the prompt, if presented:
- If the server is waiting, answer Y and wait for all the design updates. (The server will do "normal" stuff, as well.)
- Once you see all the design updates are complete, type quit in the console to shut down the Domino tasks.
d. Stop the Domino controller part of Domino back in services:
Windows toolbar --> Search (box) --> enter Services --> choose Services.msc (Desktop App) --> locate and select HCLDominoService(NLotusDominoData) --> Stop the service
<wait a second>
7. Install the latest Fix-Pack (e.g. FP5)
a. Navigate to the installation folder on the server and run the installation:
Folders --> x:\Software --> double-click Domino_1400FP5_Win
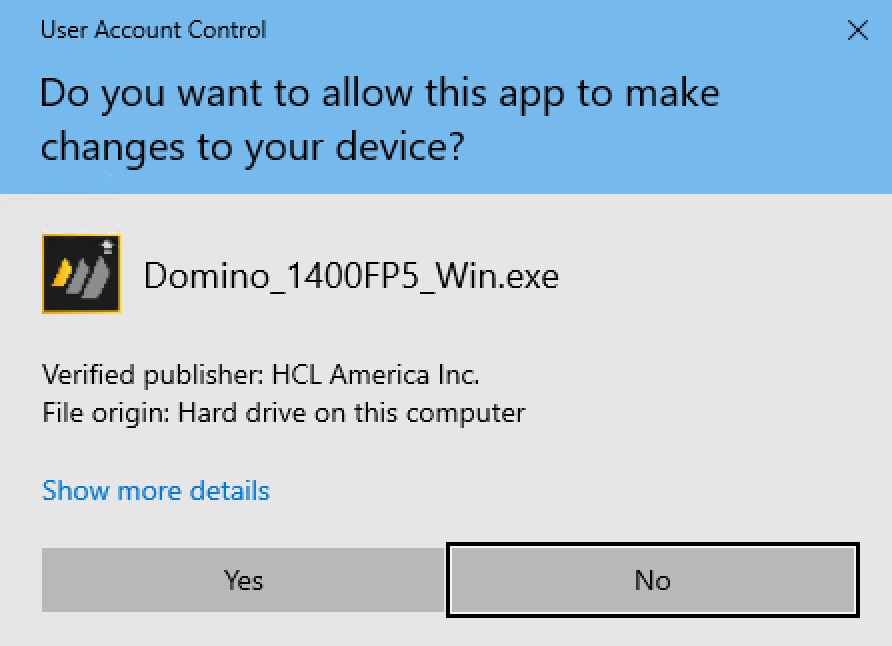
b. In the User Account Control dialog, select Yes to allow the install program to make changes to your device.
User Account Control dialog:
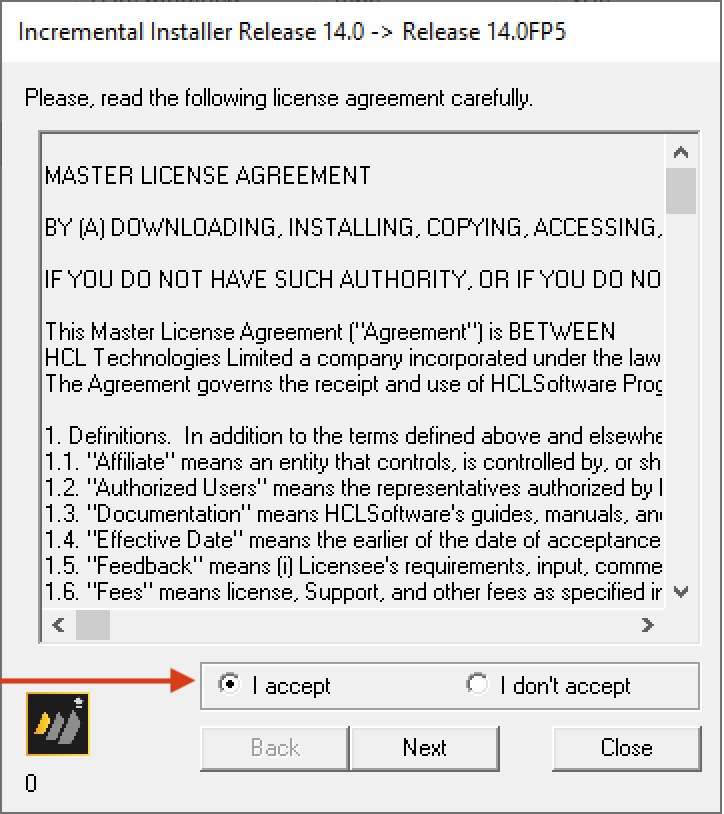
c. In the Incremental Installer Release 14.0 -> Release 14.0FP5 dialog, click I accept (to accept the license), click Next (button).
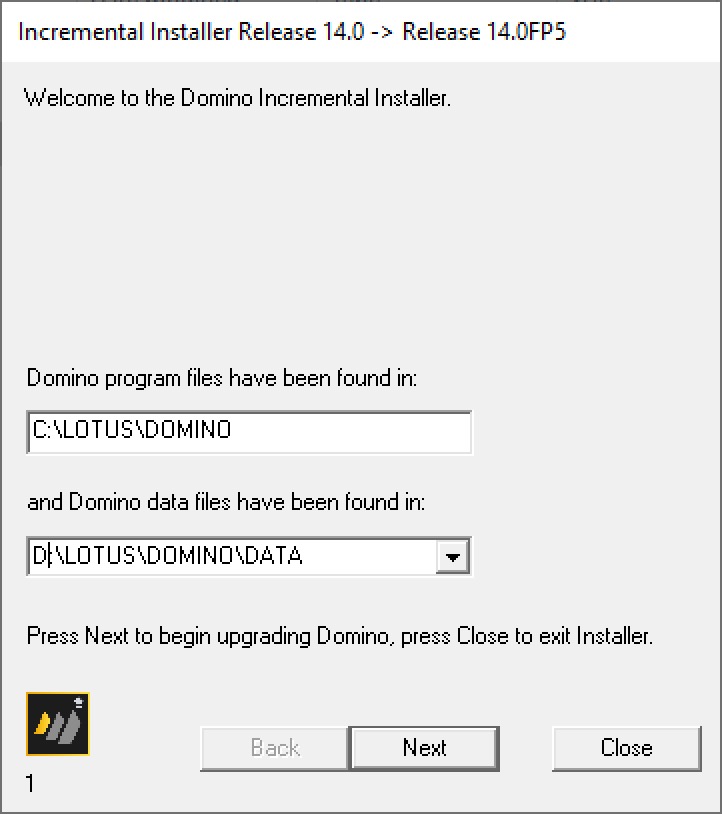
d. On the Welcome to the Domino Incremental Installer page, verify the Domino program files have been found in field, and select the dropdown to the Domino data folder. Click Next (button).
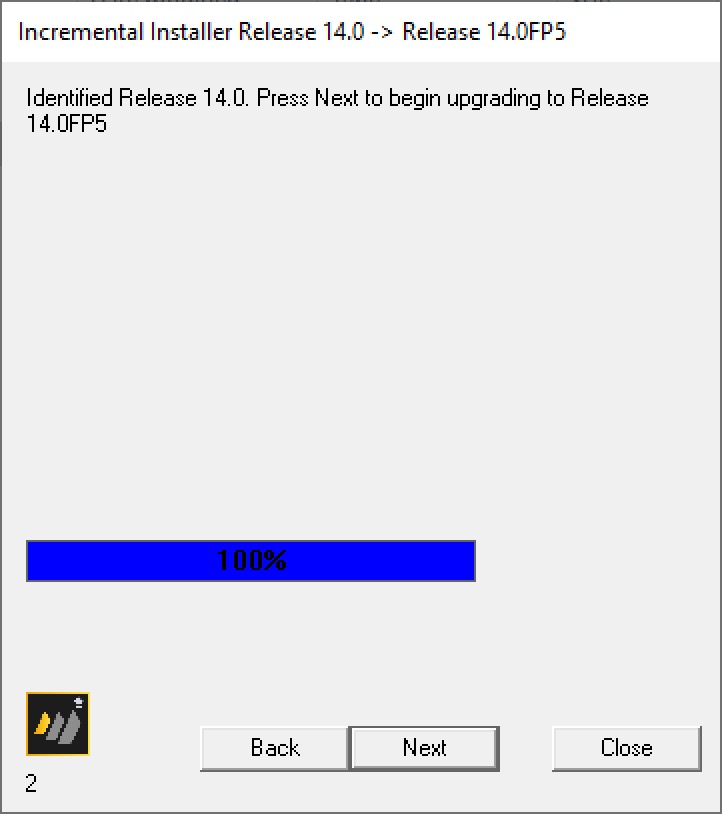
e. On the Identified Release 14.0 page, click Next (button).
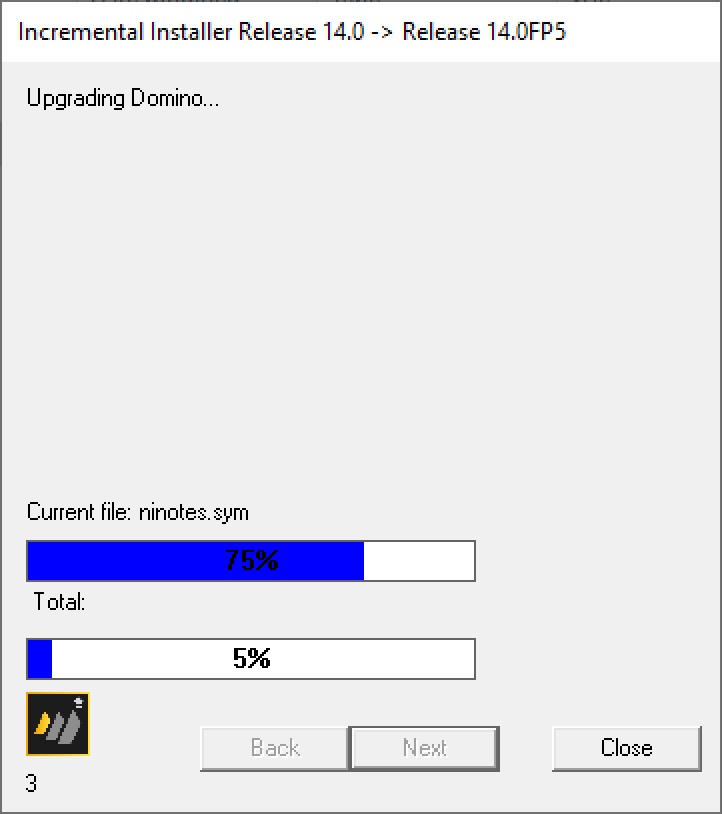
f. Wait several minutes for the upgrade to complete ...
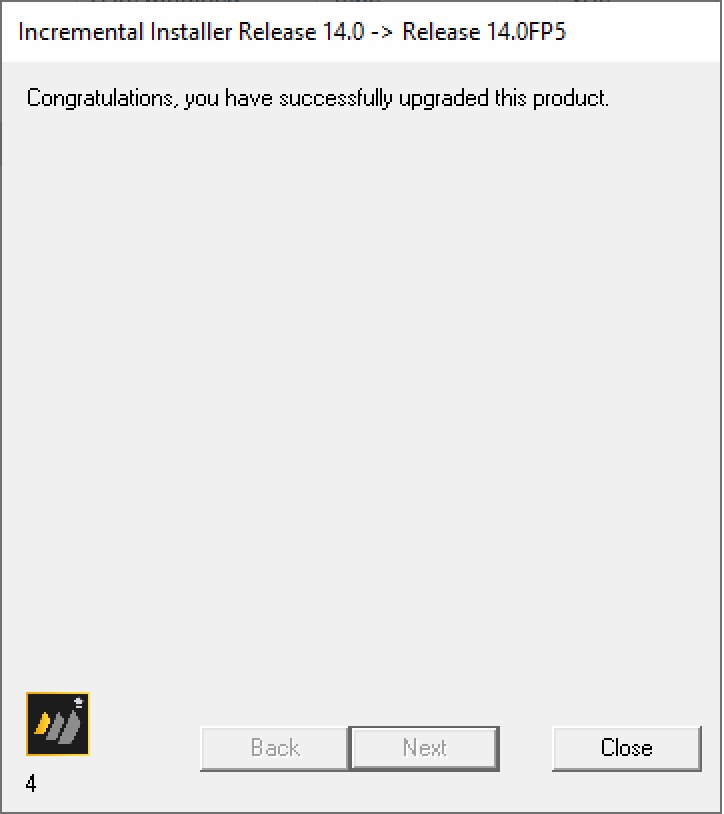
g. On the Congratulations page, verify that it says the upgrade was successful, and click Close (button).
8. Start the Domino service.
a. Start the Domino service:
Windows toolbar --> Search (box) --> enter Services --> choose Services.msc (Desktop App) --> locate and select HCLDominoService(NLotusDominoData) --> Start the service
<wait a few seconds>
b. Verify the service is running.
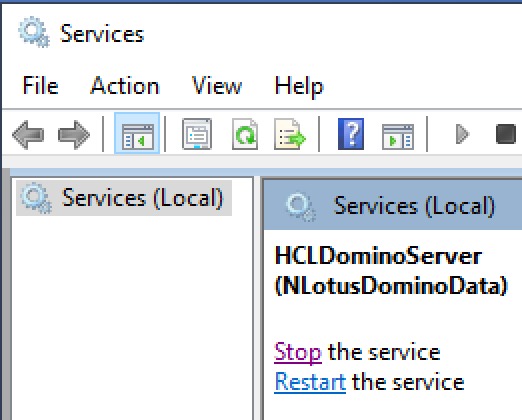
- Still in the Services app, Action (top heading) --> Refresh (option)
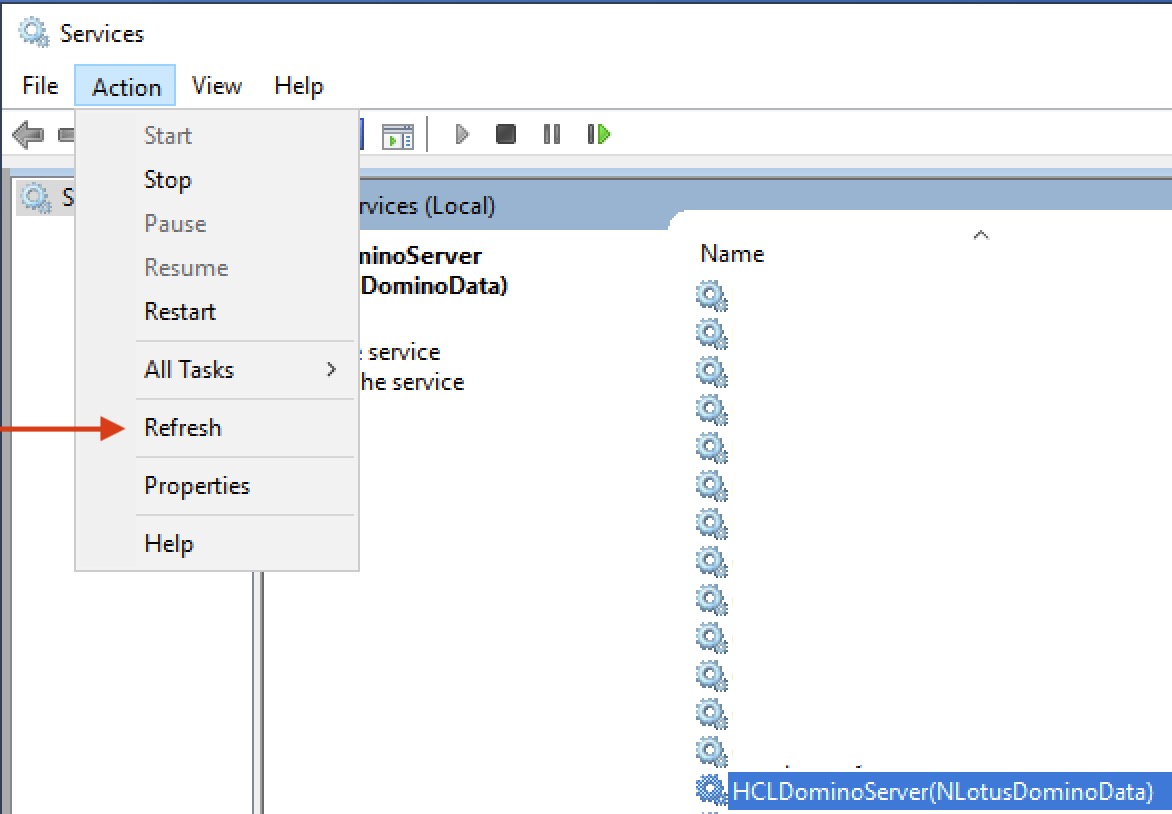
- Verify the HCLDominoServer(NLotusDominoData) service is running by confirming there is a Stop and a Restart set of options on the left side and Running the the right of its service entry.

9. Verify the server in the Domino Administrator.
a. On a client workstation, start the Domino Administrator client
b. Verify the version:
- On the left side bookmark bar, select the server that was just upgraded to manage
- Once loaded, verify the version being run
e.g. Release 14.0FP5 on ...
c. Bring up the server console:
- Select the Server (tab) --> Status (sub tab) --> Server Console (left submenu option) --> click Live (button)
- In the Domino Command field, enter show server, click Send (button)
- Review the output, confirm the server reports 100% or typical availability, and watch the console for any unusual issues.
previous page
|